








A floss threader can make flossing easier if you have braces, a bridge, or a retainer. It works like a stiff guide that carries floss under the wire or appliance so you do not have to force floss through a tight gap. Use waxed floss, work gently, and re-thread for each space. It may feel slow at first, but the routine gets faster with practice.
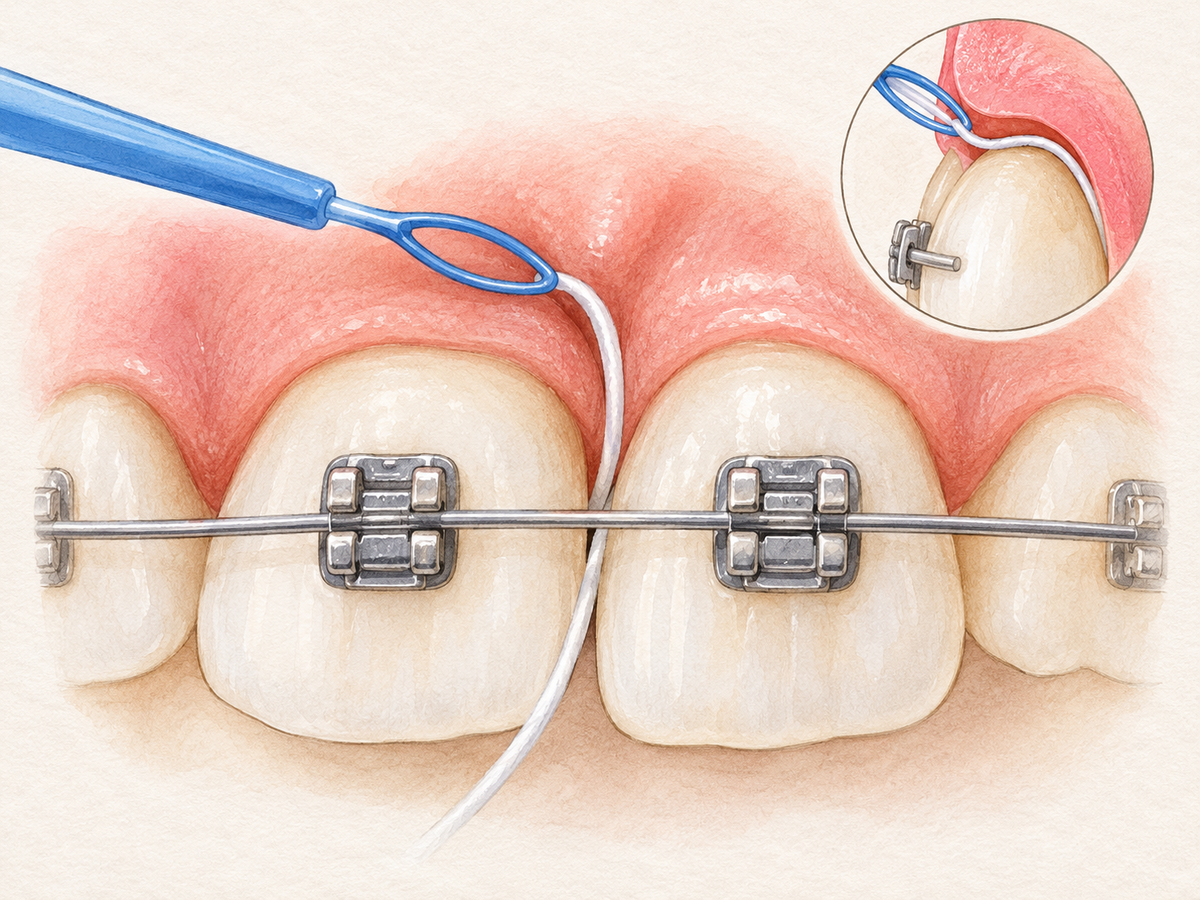
The basic move is simple: loop floss through the threader, pass the stiff end under the wire or bridge, pull floss through, then clean both sides of each tooth with gentle back-and-forth motion. Do not snap the floss out against brackets.
Why It Makes Flossing Easier
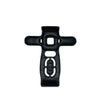
A floss threader is a thin, stiff plastic guide with a loop at one end. You pass floss through the loop, and the threader leads the floss into places where regular floss would have to be forced through.
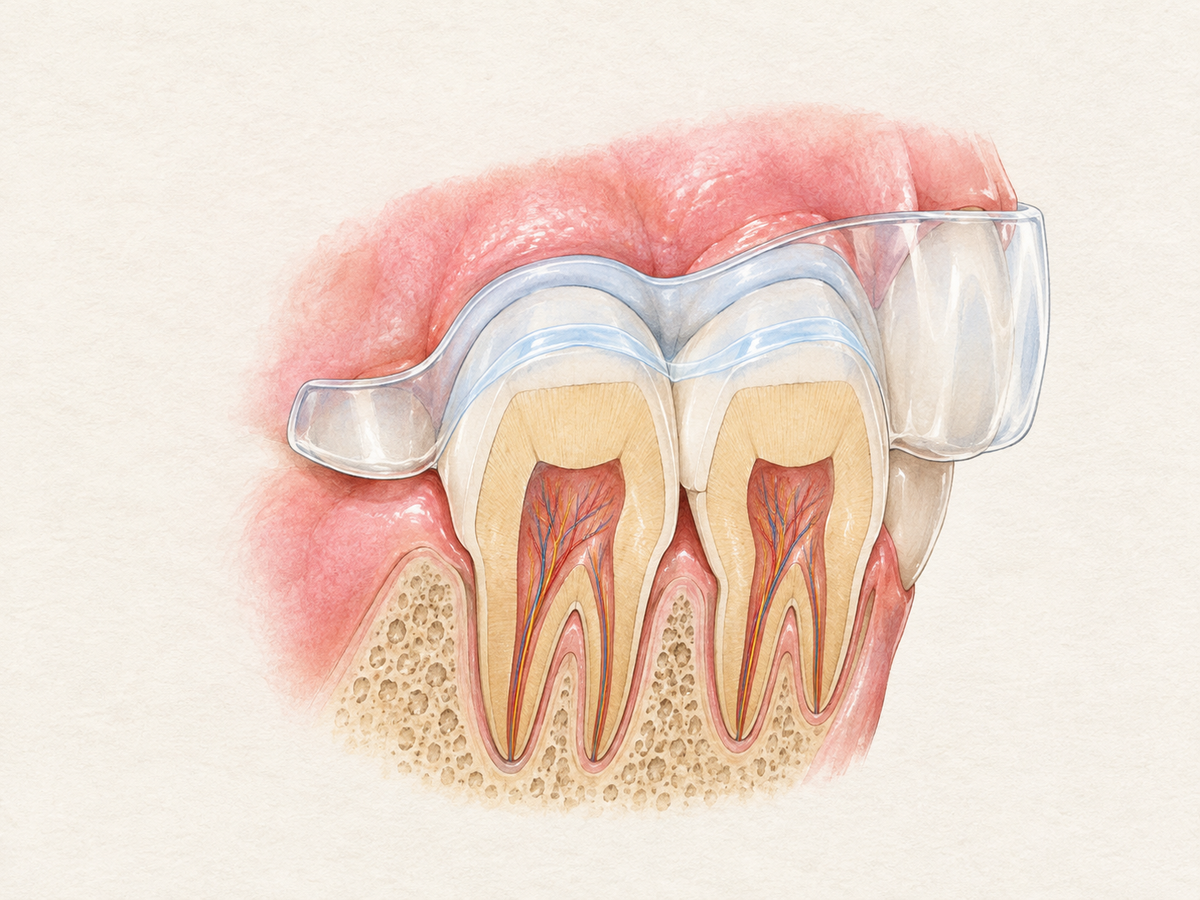
Braces, bridges, and retainers create extra ledges and wires. Those spots trap plaque, the sticky film that builds up on teeth. Fixed orthodontic appliances create plaque-retentive niches around brackets, bands, and archwires, which can raise the chance of gum inflammation and white spots during treatment, according to a review of home oral hygiene during fixed orthodontic treatment.
A threader gives the floss a clear path under those obstacles. That can mean less frustration, less floss snapping, and better access to back teeth. Back teeth are often the hardest to see and reach, but they need the same cleaning as front teeth.
Gather the Right Supplies
You do not need much. Gather these before starting:
- A floss threader.
- Regular or waxed floss. Waxed floss may slide more easily. Waxed and unwaxed floss appear to clean about equally well, but waxed floss is often preferred for ease of use, according to clinical guidance on interdental cleaning.
- A mouth mirror to help you see back teeth.
- Good lighting.
Check the threader before you start. If it is bent or frayed, replace it. Also choose a calm, unhurried time so you are not rushing. A smooth setup prevents a lot of mid-floss frustration.
Thread, Place, Floss
Follow these steps:
- Cut a piece of floss that is long enough to hold comfortably, about an arm’s length. Pass one end through the loop of the threader.
- Slide the stiff end of the threader under the braces wire, bridge, or retainer bar. Stop if it will not pass easily.
- Pull the floss through until you have enough length to hold with both hands. Set the threader aside.
- Curve the floss against one side of the tooth and gently move it up and down. Slide it just under the gumline until you feel light resistance, but no pain. Short back-and-forth movements clean the side of the tooth thoroughly.
- Clean the other side of the same gap the same way.
- Remove the floss with a gentle back-and-forth sawing motion. Do not yank or snap it out against a bracket.
This wrapping and cleaning motion is described in more detail in guidance on mechanical plaque removal.
Use It With Braces
With braces, the wire crosses in front of several teeth. That means you need to re-thread for each gap rather than trying to drag one thread through multiple spaces.
Start on one side of your mouth and work section by section. Use a mirror for the back teeth. You do not need to see everything perfectly, but a mirror helps you find the space under the wire.
It is normal for this to feel slow at first. Interproximal care with braces requires floss to be threaded beneath the wire for each tooth, which takes time and dexterity, as noted in a review of orthodontic treatment and gum health. With repetition, your hands learn the pattern and it starts to feel more natural.
Avoid Common Mistakes
Keep these in mind:
- Forcing the threader. If it will not pass, reposition it. Pushing hard can bend the threader or irritate your gums.
- Reusing a frayed threader. A frayed threader can break mid-use or shred floss. Toss it and use a new one.
- Flossing aggressively around brackets. Rough movement can cause gum irritation and make the routine painful. Careless flossing can reduce effectiveness and harm the gums, according to clinical guidance on dental floss.
- Skipping back teeth. They are hard to see, but plaque builds there too. Use a mirror and keep going.
Troubleshoot Tight Spots
If the wire feels tight or you cannot get the threader through:
- Try a slimmer or smaller threader.
- Use waxed floss, which tends to slide more easily.
- Do not force it. If floss shreds or catches, stop and try a different angle.
For bridges or retainers that block access:
- Specialized floss with a stiff end can be passed under a bridge, similar to a bridge needle, according to clinical guidance on dental floss.
- Super Floss, a type of floss with a stiff end, is another option.
- Interdental brushes are small brushes that fit between teeth. They are often recommended when there is enough space, while floss is better in tight spaces, according to an evidence review on interdental cleaning.
- Ask your dentist or orthodontist which tool fits your mouth and hardware.
When to get help:
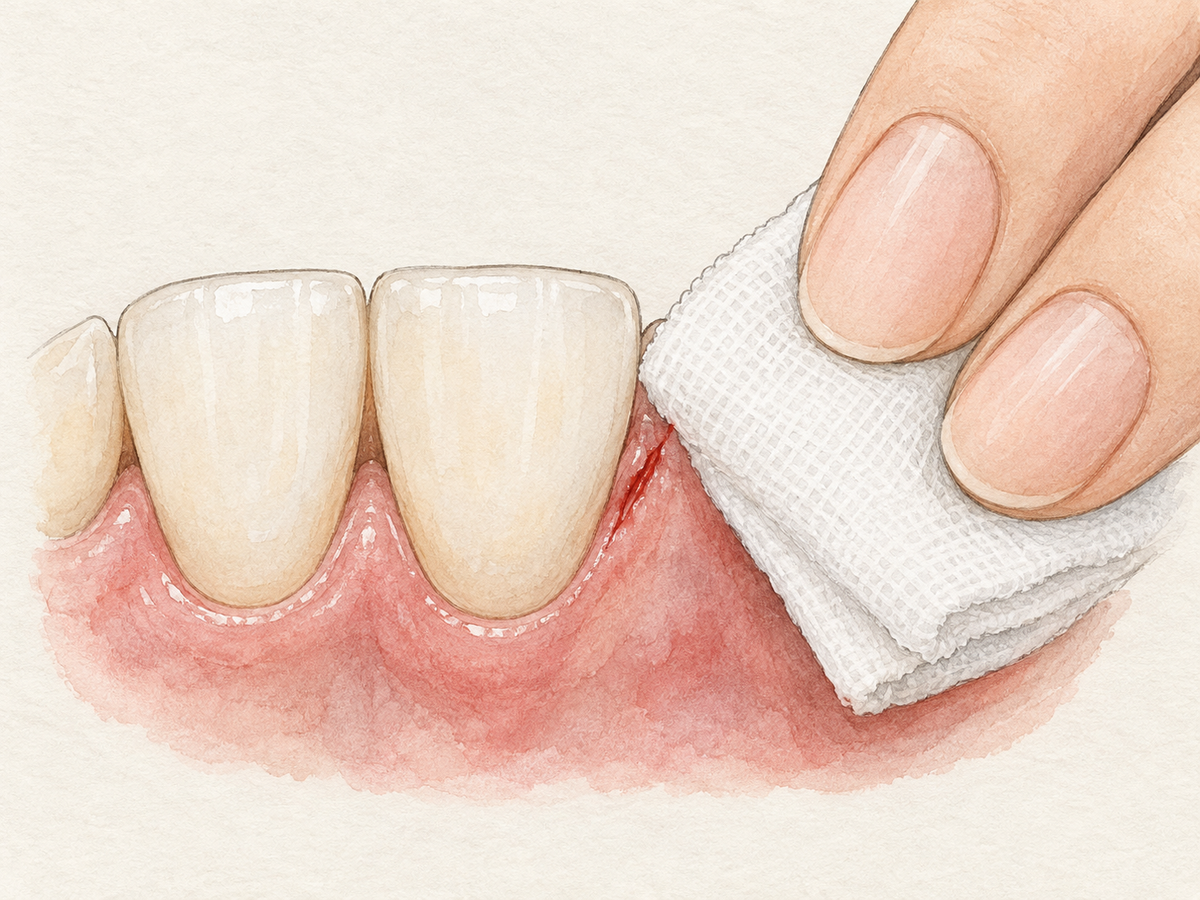
- Bleeding during cleaning can be a sign of inflammation or incorrect technique. If it continues after several days of gentle cleaning, ask for a check.
- Persistent pain or sore gums that do not improve also need a professional look.
Build the Habit
Start with once daily or as often as your dentist or orthodontist recommends. Pair flossing with something you already do, like nighttime brushing. Keep your supplies in the same spot.
Track progress by how the routine feels, not by speed. Fewer snags, less bleeding, and healthier gums are better signs than a fast time. Flossing takes practice and manual dexterity, so repeated practice is normal, according to clinical guidance on flossing.
If the technique still feels awkward after several tries, ask your orthodontist or dental hygienist to watch you do it. A quick demonstration can fix small positioning problems.
Start tonight with one section of your mouth. Once the threader is in place, keep the motion gentle and steady. If anything hurts or keeps bleeding, let your dental team know.
 Best Overall
 Best Value
 Best for Sensitive Teeth
This article has been reviewed by an oral health professional for accuracy. It is intended to provide general educational information and should not be used as a substitute for personalized medical advice, diagnosis, or treatment. If you have questions or concerns about your oral health, please consult a dentist, physician, or other qualified healthcare provider.